So you think you want to homebrew. In this day and age, it’s easier than ever to find the answers you need to pressing questions such as: “What’s a beer gun?” “Why does my beer smell like cheese?” And our favorite, “How long do I have to wait before I can drink it?”
We’ve got all these answers and more right here. So relax, have a homebrew and start reading.
Beerknews Homebrewing FAQs
Q: How much does it cost?
A: This is the No. 1 question asked, followed by, “Can you brew your own [insert commercial beer name here]?” While many brewers start off brewing clone recipes, homebrewing is definitely not the way to save money on beer. Depending on the recipe, ingredients for a 5-gallon batch will set you back about $30 to 80. Equipment is an even bigger investment.
Q: Can I do this in a pot on my stove? Do I need fancy equipment?
A: Like many hobbies, homebrewing can be as big as you want it to be. The majority of homebrewers will indeed start with a pot on the stove, and you can brew great beer this way. Brandon Martin, secretary of Fort Worth homebrew club Cap & Hare, adds that you don’t need any different equipment brewing on a gas or electric stove versus a propane burner. “As long as you’re able to achieve a boil,” he says, “you will have no problem.” One limitation for stovetop brewing is size. It’s harder to reach a full boil this way, so smaller batches (5 gallons or less) are your best bet. On the other hand, it can be hard to resist the temptation to upgrade to shinier, sexier, automated equipment. Ultimately, the important thing is to perfect a solid, repeatable process, regardless of your equipment.
Q: What’s the difference between extract and all-grain brewing? Which one should I start with?
A: The brewing process involves five main steps: milling, mashing, lautering, boiling and fermentation. During the mash, malted barley and other grains are steeped with water to extract sugars from the grains; this sugary water is called wort. The wort is then boiled, during which time hops are added. Finally, yeast is added to the wort to transform those sugars into alcohol. And just like magic, you have beer.
Extract brewing essentially allows you to skip the first three steps, using commercially available “malt extracts” (syrup or powder) which can immediately be boiled. One advantage to this is that it saves time and can be done with minimal equipment. All-grain brewing, on the other hand, allows much more flexibility to create the exact beer you want, using a combination of time, temperature and water quality to adjust the wort to your liking. Brian Schoolcraft, a nationally ranked BJCP judge and Bluebonnet Brew-off committee member, suggests that people who like cooking may prefer all-grain, as it gives you more control over the recipe.
For new brewers, Martin recommends starting with extract. This allows you to get familiar with basic processes — and cleaning and sanitation! — without distracting yourself with mash mechanics.
Q: How long does it take?
A: The brew day itself takes anywhere from three to eight hours, depending on your process. Extract brewing cuts out quite a bit of time. Other variables, such as batch size, can also affect the length of your brew day, as larger volumes take longer to control temperature. As for fermentation and conditioning, this can take anywhere from one week for a simple hefeweizen to months and even years for barleywines and barrel-aged beers.
Q: What’s the difference between cleaning and sanitizing?
A: Cleaning involves removing particles and residue from your equipment using a detergent — very much like washing dishes, says Martin. Sanitizing involves the elimination of microbes such as bacteria and wild yeast. Both are vital to brewing — after all, many brewers will tell you that in reality, they are just glorified janitors. The most popular products, respectively, are made by Northern Brewer: PBW (Professional Brewery Wash) and Star-San. All of your brewing equipment will need a good scrub with PBW and water prior to sanitizing. Star-San is the final frontier and needs to be used with any equipment, tools and bottles that touch your wort or beer after the boil. This also includes any fruit, spices and flavorings that you add to your beer during secondary fermentation, though this is usually accomplished by boiling or soaking in vodka, rather than using Star-San.
Rule of thumb: You can never be too careful. It only takes one tiny bacterium to ruin an otherwise perfect beer.
Q: How do I come up with a recipe?
A: First and foremost, start simple. For beginning brewers, it’s helpful to begin with proven recipes from a kit or from a book such as Brewing Classic Styles.
Once you’re ready to design your own recipes, you’ll need to have an in-depth understanding of balance and flavor contributions, says Martin. “Make sure to taste your malts as you use them to get an idea what flavor they are contributing, and also taste your beer in all phases of the brewing process to understand how the process changes and combines those flavors,” he adds. The No. 1 rule of experimenting is to change only one variable at a time — and that applies to beer, too. Modify an existing recipe by changing only the hop schedule, for instance, or fermentation temperature. Be patient, learn from everything you do and don’t be afraid of brewing software. Another great tip? Join a homebrew club, suggests Schoolcraft. “You’d be surprised how generous people are about sharing their knowledge,” he says. Magazines such as Zymurgy and Brew Your Own are also great resources.
Q: How do I make my beer stronger?
A: A persistent misconception about beer is that color is correlated to alcohol strength. Did you know that a thick, dark Guinness is only 4% ABV? In reality, it all comes down to sugar. During fermentation, yeast noms on sugar and turns it into alcohol. So generally speaking (and assuming your yeast is healthy), the more sugar you start with, the more alcohol you’ll have at the end. That’s why some beer labels list “OG” (original gravity, or gangsta).
Q: Is my beer ruined? How do you know when to dump a batch?
A: Dumping a batch of beer should always be your last resort, says Martin. If something tastes wrong to you but you’re not sure what it is, take a sample to your local homebrew store or consult experienced brewers at a club meeting. There is almost always an explanation for what you’re tasting — and sometimes there’s a solution. For example, if your beer tastes like baby diapers or vomit, throw it out, because there’s no coming back from problems like infection and oxidation. However, points out Schoolcraft, if it tastes like butter or green apple (and you haven’t bottled or kegged it yet), it may just need more time to ferment. Simple motto: Evaluation before action.
Q: Should I ferment in a carboy or a plastic bucket?
A: There are benefits to both, so we’ll break it down for you and let you decide what’s best for you. Plastic buckets are cheaper and easier to transport; however, they are prone to getting tiny scrapes in the side that can harbor bacteria, and they have to be replaced more often. Unlike plastic buckets, glass carboys allow you to see what’s happening to your beer during fermentation. However, they’re more expensive, dangerous if dropped and harder to clean thanks to their unwieldy shape. To carry them, it’s best to use a safety strap or a plastic milk crate. The important thing to remember, says Martin, is that you can make great beer with either one.
Q: What’s up with the foam in my carboy? Is it safe for the beer?
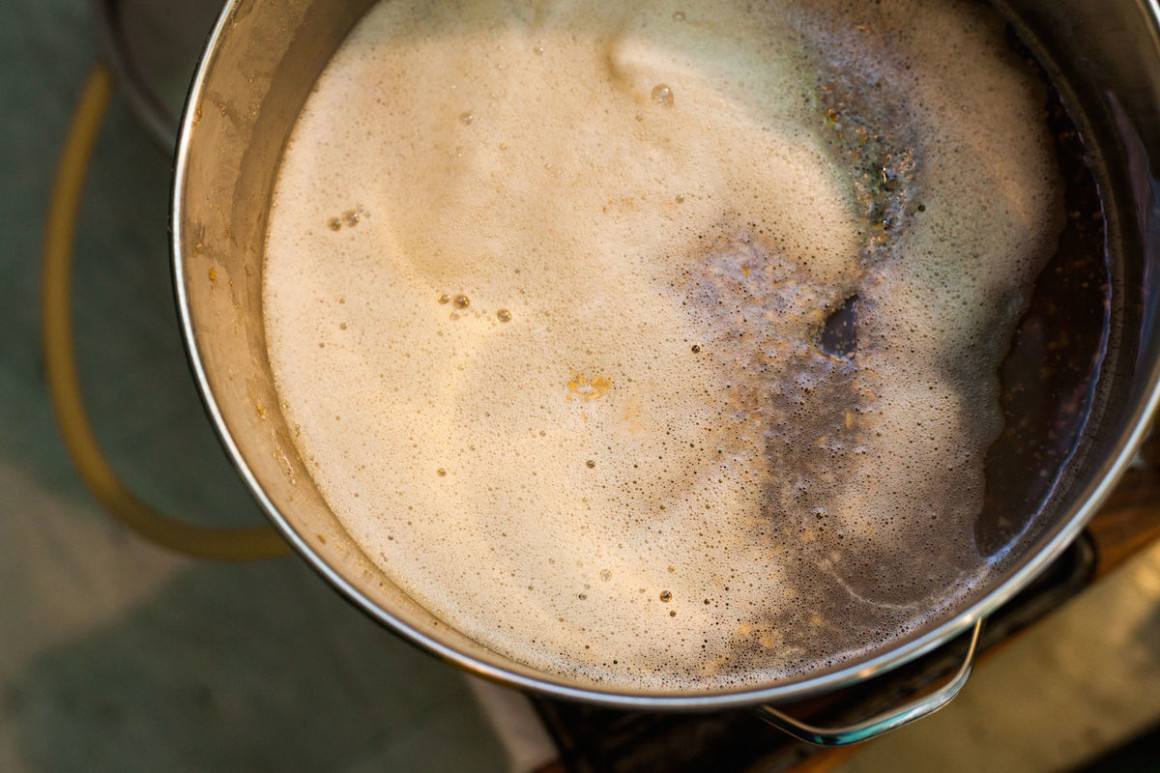
A: Now that you’ve been a good little janitor and properly cleaned and sanitized your fermentation vessel, you’re going to see lots of bubbles leftover from the Star-San. No need to panic. Just rack your beer right on top; the bubbles will eventually dissolve and are completely safe.
Q: My airlock isn’t bubbling. Did fermentation stop?
A: While the bubbles in your airlock are one indicator of active fermentation, they are not a reliable method of determining the stage of fermentation that your beer is in. As Schoolcraft notes, the length of fermentation depends on your starting gravity, the amount and health of the yeast pitch and fermentation temperature. But the only way to truly determine if fermentation is complete is to take a gravity reading, says Martin. This can be done with either a hydrometer or refractometer. Once you go five to seven days with no change in gravity, primary fermentation is complete. However, once the yeast has finished converting sugars to alcohol, it still has to consume other fermentation byproducts that would otherwise cause off flavors (such as diacetyl, famous for its butterscotch flavor). In other words, be patient and don’t rush fermentation!
Q: Do I need to do a secondary fermentation?
A: First things first: This is sort of a misnomer. The decision to use a secondary vessel depends on the style of beer you’re making, but a more accurate description is “conditioning,” as most fermentation is generally done by this time. That said…
Certain beers need to be drunk fresh. Hefeweizen, for example, derives significant flavor from having yeast in suspension, and conditioning this style could drastically reduce those classic banana and clove notes. However, high-alcohol beers or complex styles that need time to blend and mellow flavors will greatly benefit from conditioning in a secondary vessel. This process is also helpful for clarifying beers if you happened to pick up a lot of trub from the boil kettle, says Schoolcraft. A good rule of thumb, according to Martin, is that if a beer needs longer than three weeks before it’s ready to drink, then it will probably benefit from secondary.
Q: Should I keg my finished beer or bottle it?
A: Bottling is less expensive for the beginning homebrewer, which is why most people start this way. But ultimately, the vast majority end up kegging because this method comes with so many advantages — and fewer janitorial hassles. “Aside from being much easier to package,” shares Martin, “kegged beer is much easier to carbonate and is ready to drink much sooner than bottle-conditioned beer.”
Still, there are times when bottling is a necessary evil. Most homebrew competitions require submissions in the form of 12- or 22-oz. bottles, and having bottles on hand makes it easier to share your brew with friends. Schoolcraft also suggests bottling any beers that may get better with age. If you do decide to keg, it’s helpful to have a counterpressure filler or beer gun, which allow you to bottle straight from the keg when the time is right.
Q: Why didn’t my bottled beer carbonate?
A: Bottle-conditioned beer needs three things in order to carbonate correctly: Yeast in suspension, fermentable sugar and time. If your beer did not carbonate, it was missing one of these three things, says Martin. Here are a few troubleshooting tips:
If the beer sat in your fermenter for a long time or is very high in alcohol, chances are there was no yeast in suspension. Next time, add fresh yeast at bottling time.
If you had plenty of yeast, then it’s possible that the sugars you added at bottling time didn’t get evenly mixed into the beer. If some of your bottles are carbonated and some aren’t, then this is the culprit. Next time, be sure to dissolve the priming sugar complete in water and add it to your bottling bucket before racking your beer onto it. You can even stir with a sanitized spoon.
If you’re sure that neither of these things is causing the problem, then you may simply need to wait. Make sure your beer is at room temperature and give it at least two to three weeks to carbonate.
Q: Can you brew me a keg of Coors?
A: No.
Homebrewing doesn’t have to be stressful and there are always experts—Beerknews, Beerknurds or your local homebrew stores—that you can bounce questions off of. As Charlie Papazian said, “relax, don’t worry, have a home brew.”


